


Turn a simple centrepiece into four distinct designs with these eye-catching festive greetings.
What you need...
- Card blanks: red (including standard + side-folding 5cm tall blank); purple, small green triangular blank
Card: matt pink, mint glitter, white, pink, yellow, green, red, pink glitter, green glitter
Wide navy ribbon
Dies: Large star die, Geometric star die, Heart-shaped die. We used Chloe’s Creative Cards Geometric Star Metal Die Set; Noel, Sparkle and Happy Christmas word dies
3D foam pads
Strong craft glue or tape runner
Glue suitable for glitter card
instructions
-
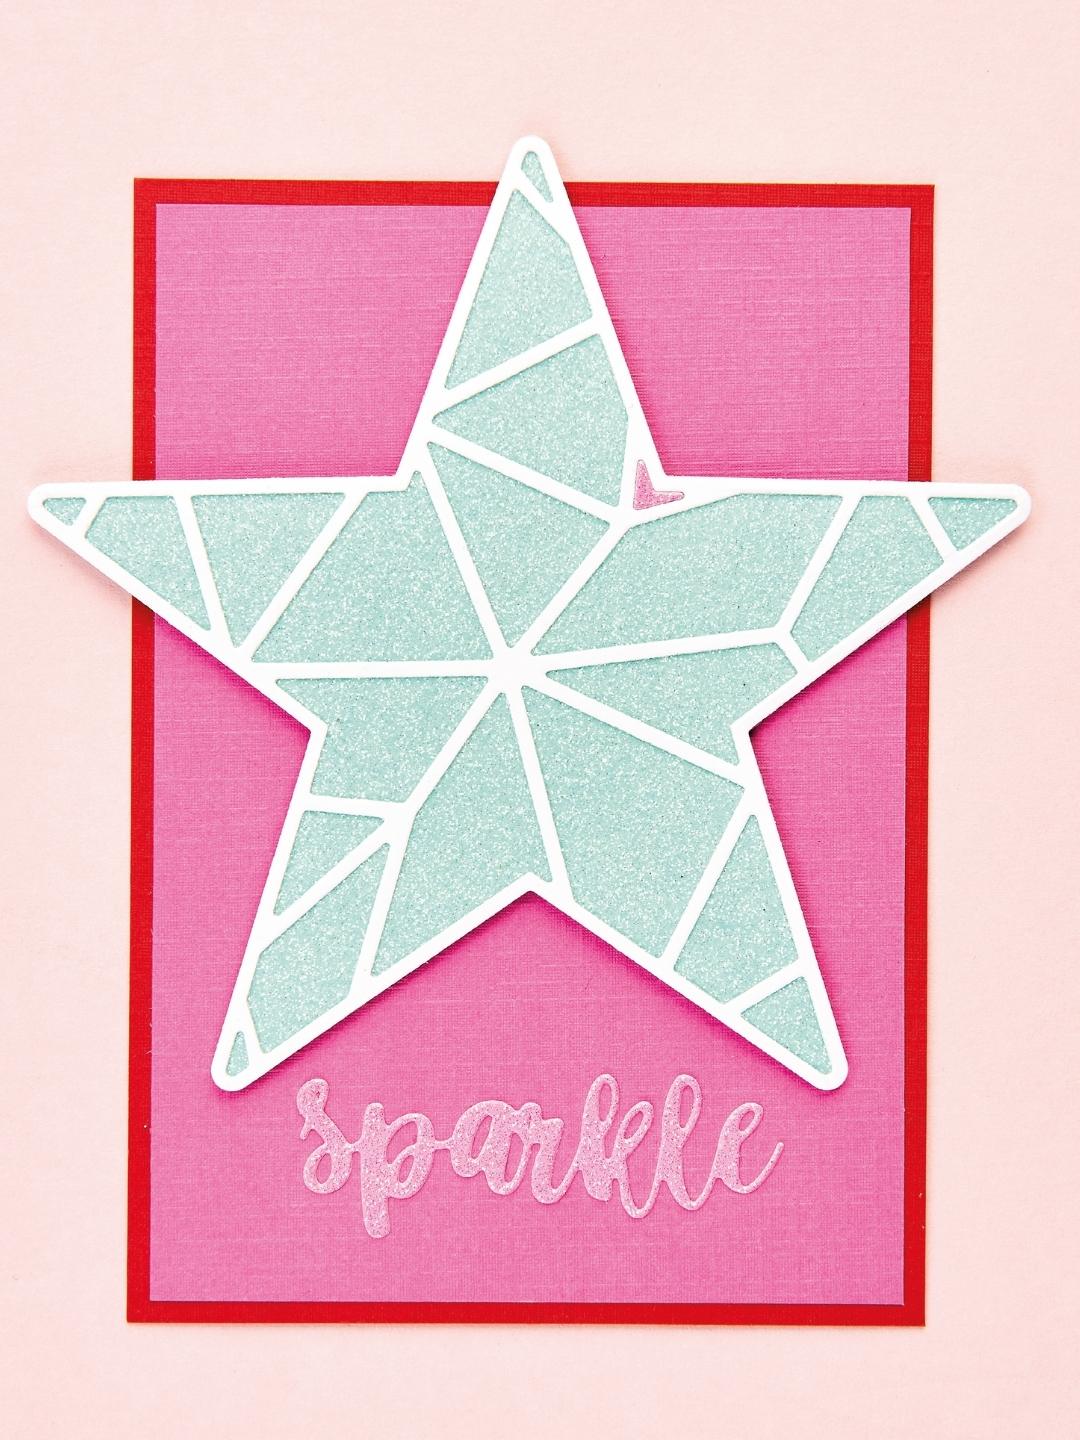
Blue Glitter Star Card - Take a red blank and matt pink on top. Die cut a large star from mint glitter card and layer a white geometric star on top. Die cut the geometric star again from pink and insert the small heart-shaped negative die-cut in the top-right corner of the white star. Fix to the card using 3D foam pads, then add a pink glitter sentiment.
-
Yellow Noel Card - Create a 5cm tall side-folding blank and cover with red. Add wide navy ribbon horizontally across. Die cut a large star from yellow and layer a lighter geometric star on top. Adhere to the card using 3D foam pads. Die cut ‘Noel’ from green and layer onto white, then fix to the greeting.
-
Yellow Merry Christmas Card - Create a small green triangular blank. Die cut a large star from yellow and a slightly smaller star from white, then adhere together. Die cut a geometric star from yellow glitter card and layer on top. Add to the greeting using 3D foam pads and attach a red die-cut sentiment.
-
Multi-colour Star Card - Make a purple blank and add pink and red panels down the centre. Die cut a large star from white and add a geometric star on top. Die cut the geometric star again from coloured glitter card and inlay the negative die-cuts inside. Secure to the card using 3D foam pads. Add a white sentiment.


Projects you may also like...



Recommended Projects...
 Crafts Beautiful Edition