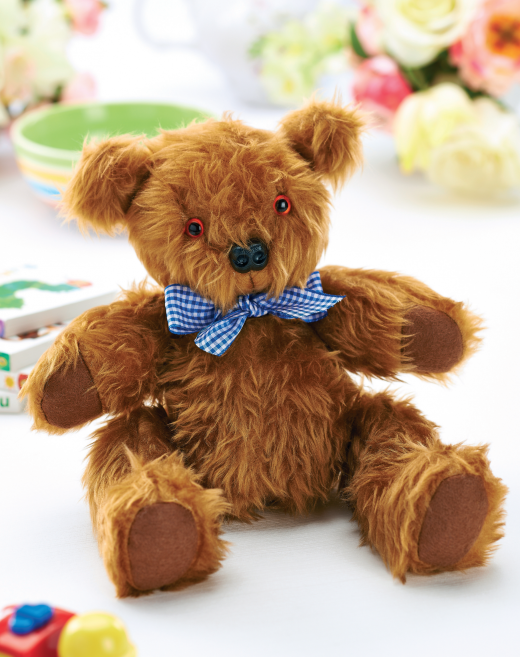
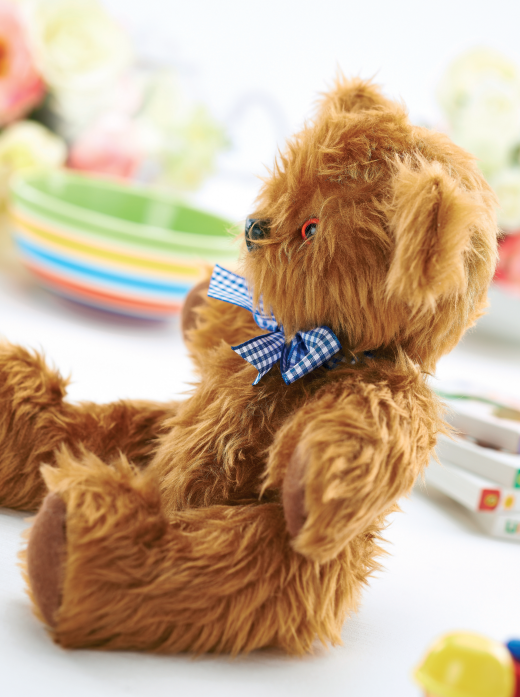
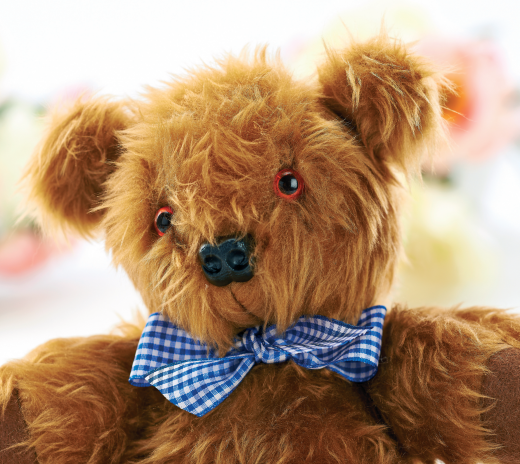
Making a traditional teddy with hinged arms and legs is easier than you’d think!
What you need...
- Fabric: fun fur; felt, dark brown
- Ribbon
- Plastic eyes and nose
- Hinges, legs/arms, four
- Polyester toy filling
- Sewing machine
- Thread
- Ruler
- Pencil
instructions
-
Cutting Guide - From fun fur - 1 pair of the lower head and back head, 1 of the top head, 1 pair of the front and back body, 2 pairs of the teddy arms and legs, 2 pairs of ears.
From brown felt - 1 pair of soles, 1 pair of hand pads. -
Body Pieces - 1 With the right sides of the fur fabric facing, stitch two pairs of legs together from the front base, then up and around the top and down the back of the leg to the base. Leave a 3cm gap in the back of the leg and use a 3mm seam allowance.
2 Clip the seam allowance around the top of the foot. Match the notch in the soles of the feet to the front and back seams in the base of the legs, then pin and stitch the soles into place. Turn the
legs to the right side through the gap in the backs of the legs.
3 Match the notches in the hand pads to the right sides of the end of the two of the arm pieces; stitch across the felt pads, then fold them back to fall in line with the ends of the arms. Position and pin the two remaining arm pieces over the two with hand pads and stitch around leaving a 3cm opening. Turn the arms to the right side through the gaps.
4 Stitch the front and centre-back body seams together, leaving a 3cm gap on the centre-back seam. Match the front and back bodies together. Stitch from the neck edge, down the side and across the base matching the centre front and back seams together, then back up to the opposite side of the neck. Divide the ear pieces into pairs and pin, then stitch around the edges and turn out. -
To Make The Head - 1 Match the centre-back seam of the back head together with the right sides of the fur fabric facing and stitch together. Join the centre-front of the lower head together and stitch from the nose to the neck edge. Line up the nose of the top head to the nose of the lower head, then pin and match the remainder of the seam together. Stitch into place.
2 Position the ears at either side of the outer edge of the top head. Place the back head over the front head, matching the top of the centre back seam with the centre notch on the top head and sandwiching the ears between the two edges; pin, then stitch around the seam. Turn the head to the right side. Make a small hole in the seam and attach the eyes and nose as indicated on the pattern; the head can now be stuffed with the filler. -
Legs & Arms - 1 Make a small hole on the top of the inner leg and the base of the side seam, then attach with the plastic hinge pieces. Repeat the process for the arms. For ease, this can all be accessed through the gaps left in the centre-back seam and the arms and legs.
2 Carefully stuff the arms and legs, closing the gaps with hand slip-stitch. Now stuff the body and close the gap in the centre-back seam. Hand stitch to the neck of the body; place the head over the neck, then turn under the raw edges of the fur and stitch into place. Finish with a length of ribbon tied around teddy’s neck.
Projects you may also like...
Recommended Projects...
 BusymittsShare your makes


