Blog
Blog
Summer is definitely in full swing so it’s time to let that show with your creativity. With the kids breaking up from school imminently, they’ll want something fun and interesting to keep them busy, so here’s a project from Renshaw that does just that… and what’s more, it’s tasty too!
Renshaw has a colourful range of ready-to-use icings that are conveniently packed in 250g units. There are over 30 shades to choose from and it’s so easy to use. Simply open up the pack, knead a little to ‘wake up’ the icing and you’re ready to decorate. A little dusting of icing sugar along the way will help it not stick to your rolling pin or work surface. The only limit is your imagination!
We’re excited to bring you the recipe for the ice cream cone biscuit. Plus, we’re delighted to tell you that Renshaw is giving you the chance to win one of four £25 e-vouchers to spend at renshawbaking.com. All you have to do to enter the competition is click here and sign up to their email newsletter.
Now, onto the recipe…
MAKES:
6-12 biscuits
SHORTBREAD INGREDIENTS:
125g (4oz) butter or margarine
55g (2oz) caster sugar
180g (6oz) plain flour – sieved
DECORATING INGREDIENTS:
Renshaw Ready to Roll Icing: Fuchsia, Poppy Red, Jet Black, Yellow, Baby Blue, White, Celebration, White Chocolate, Atlantic Blue, Teddy Bear Brown, Turquoise, Tiger Orange, Lime Green, Powder Blue
Apricot jam, warmed
EQUIPMENT:
Rolling pin
Palette knife
Plastic ribbon cutters
Seaside-themed cutters (various sizes)
Star plungers/circle plungers
Small bow cutter
Wheel tool/scribe tool
Cooled boiled water
Brushes
Smoother
BAKING INSTRUCTIONS:
1. Heat the oven to 190°C/375°F/gas mark 5.
2. Cream together the butter and sugar until it is nice and smooth, then gradually stir in the flour to form a smooth paste.
3. Wrap the shortbread in cling film and leave to rest in the fridge for 30 minutes.
4. Knead the dough lightly and roll out to the desired thickness. Using your cutters, cut out various shapes.
5. Place the shapes on a greased and lined baking tray and bake in the oven for 15 to 20 minutes until pale golden brown.
6. Remove from the oven and leave to cool on a cooling rack for 30 minutes.
DECORATING AN ICE CREAM CONE BISCUIT:
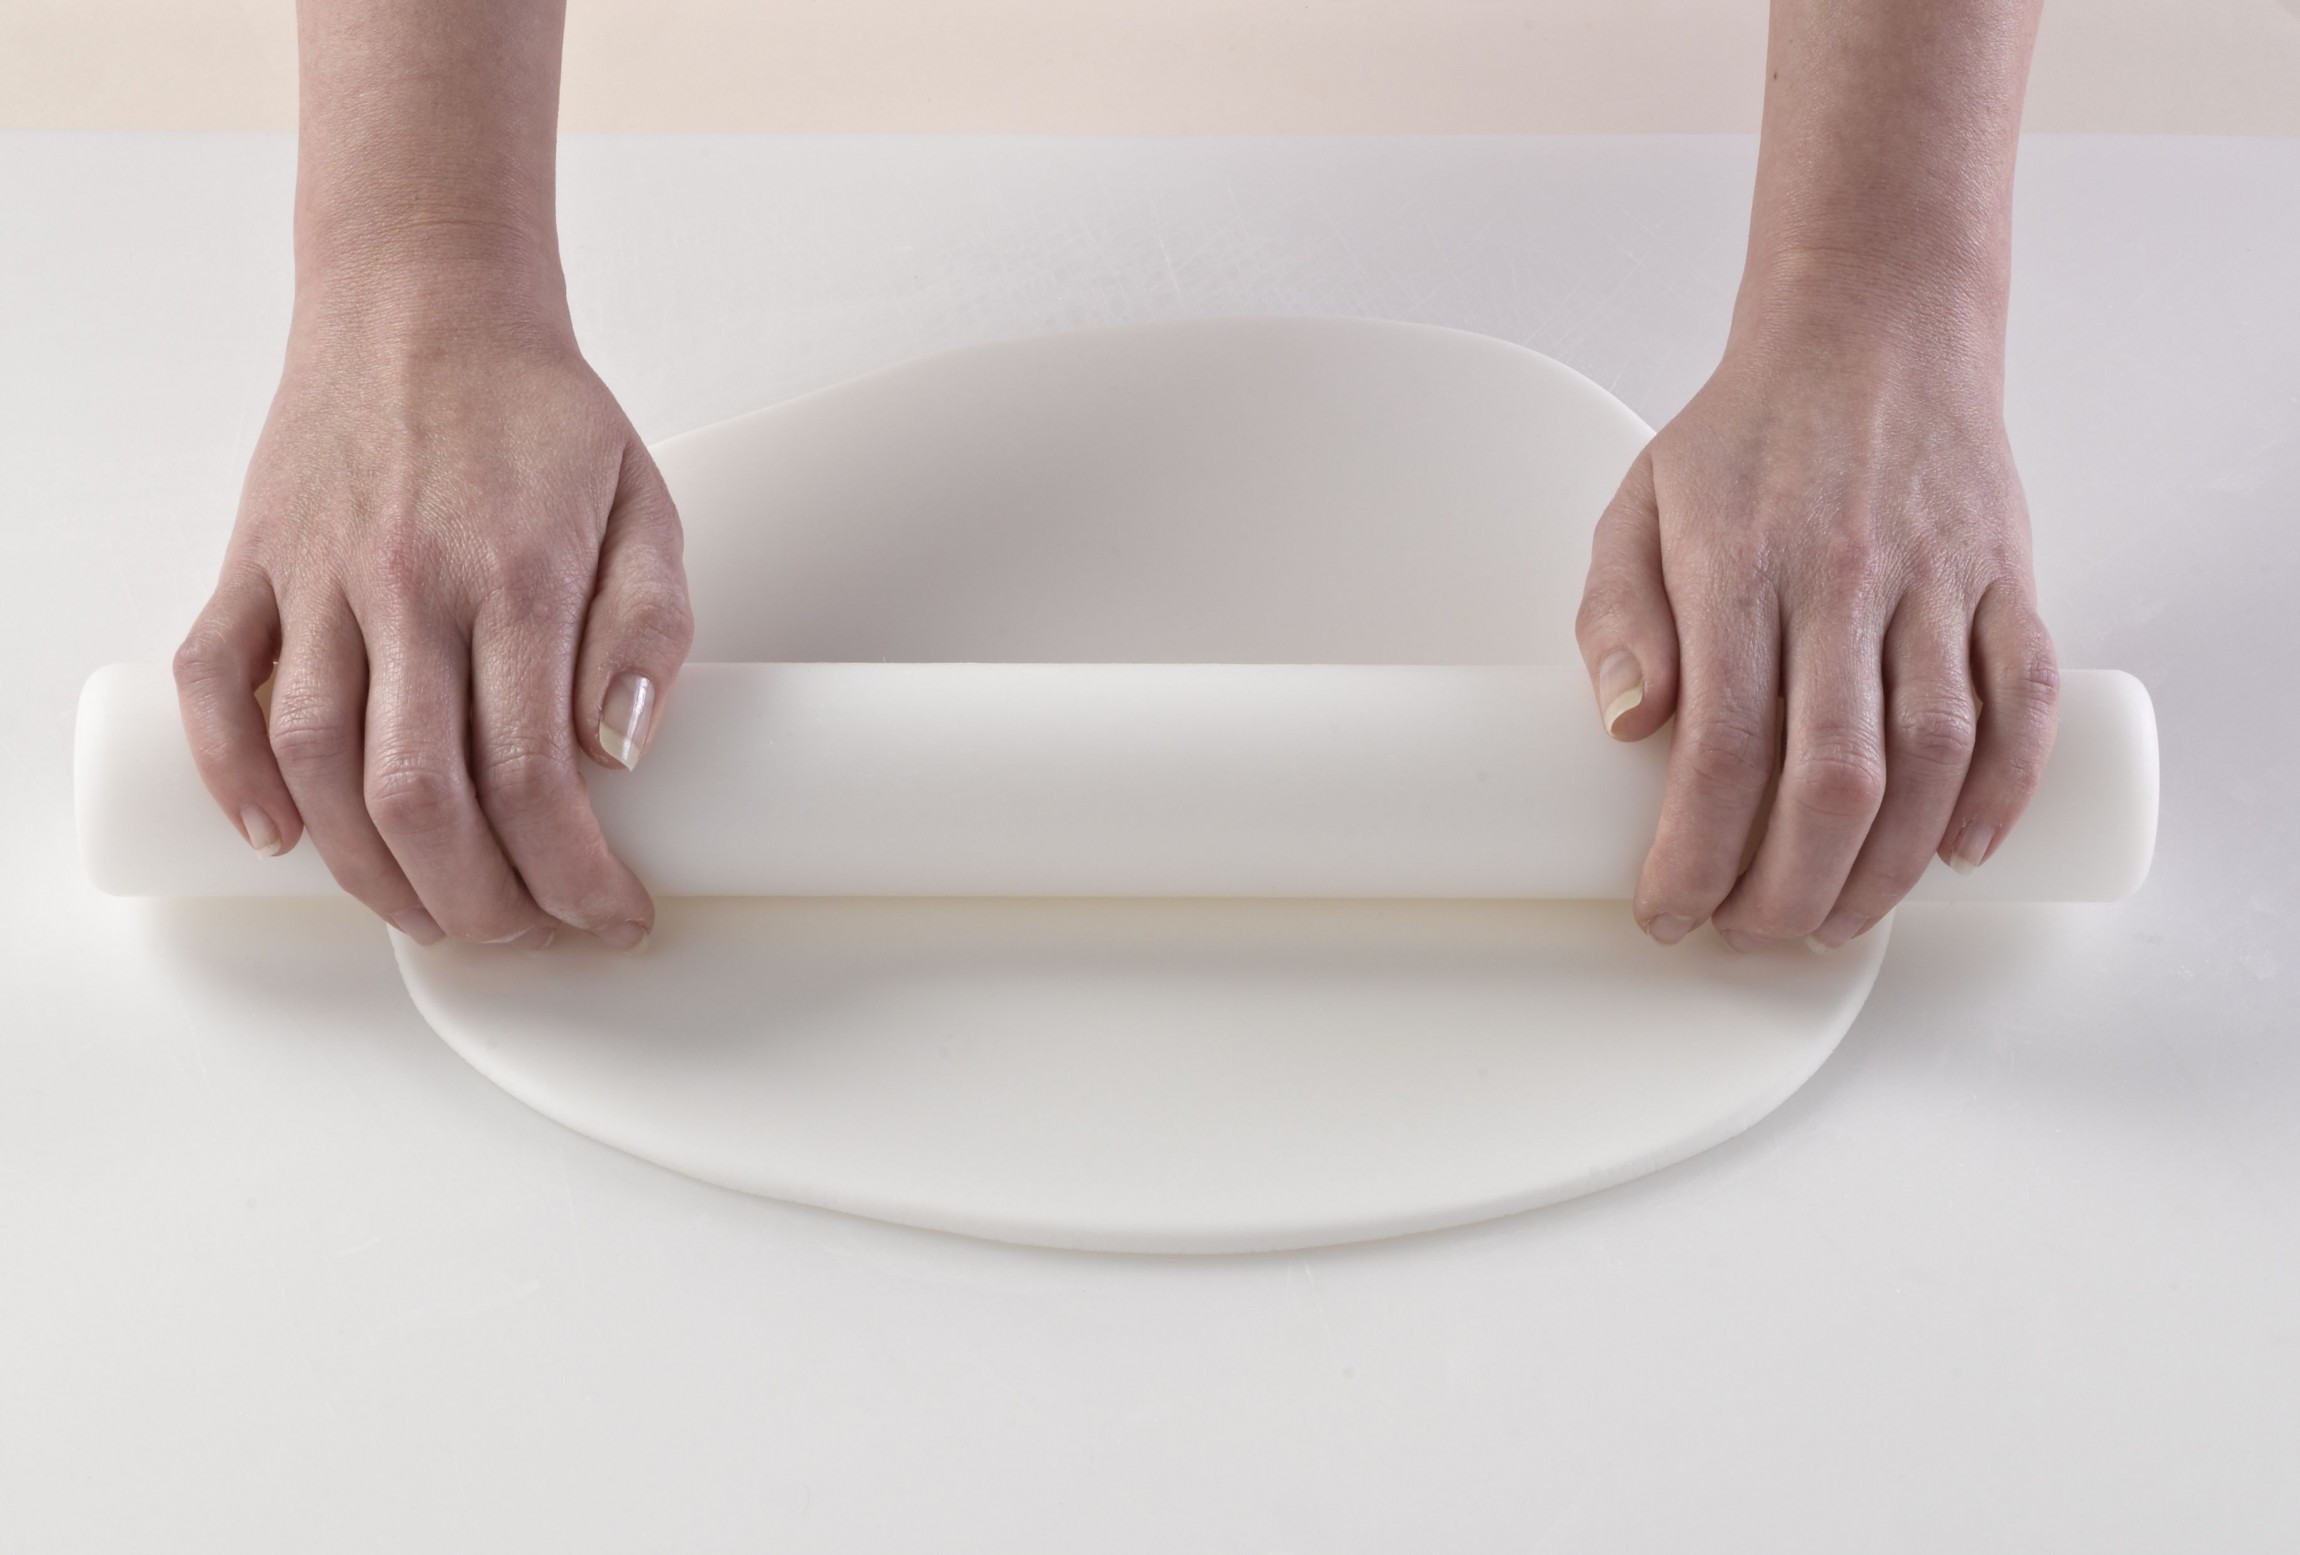
1. Knead the Teddy Bear Brown sugarpaste on a clean, dry surface until pliable. Dust surface with a little icing sugar if required, then roll out to your desired thickness.
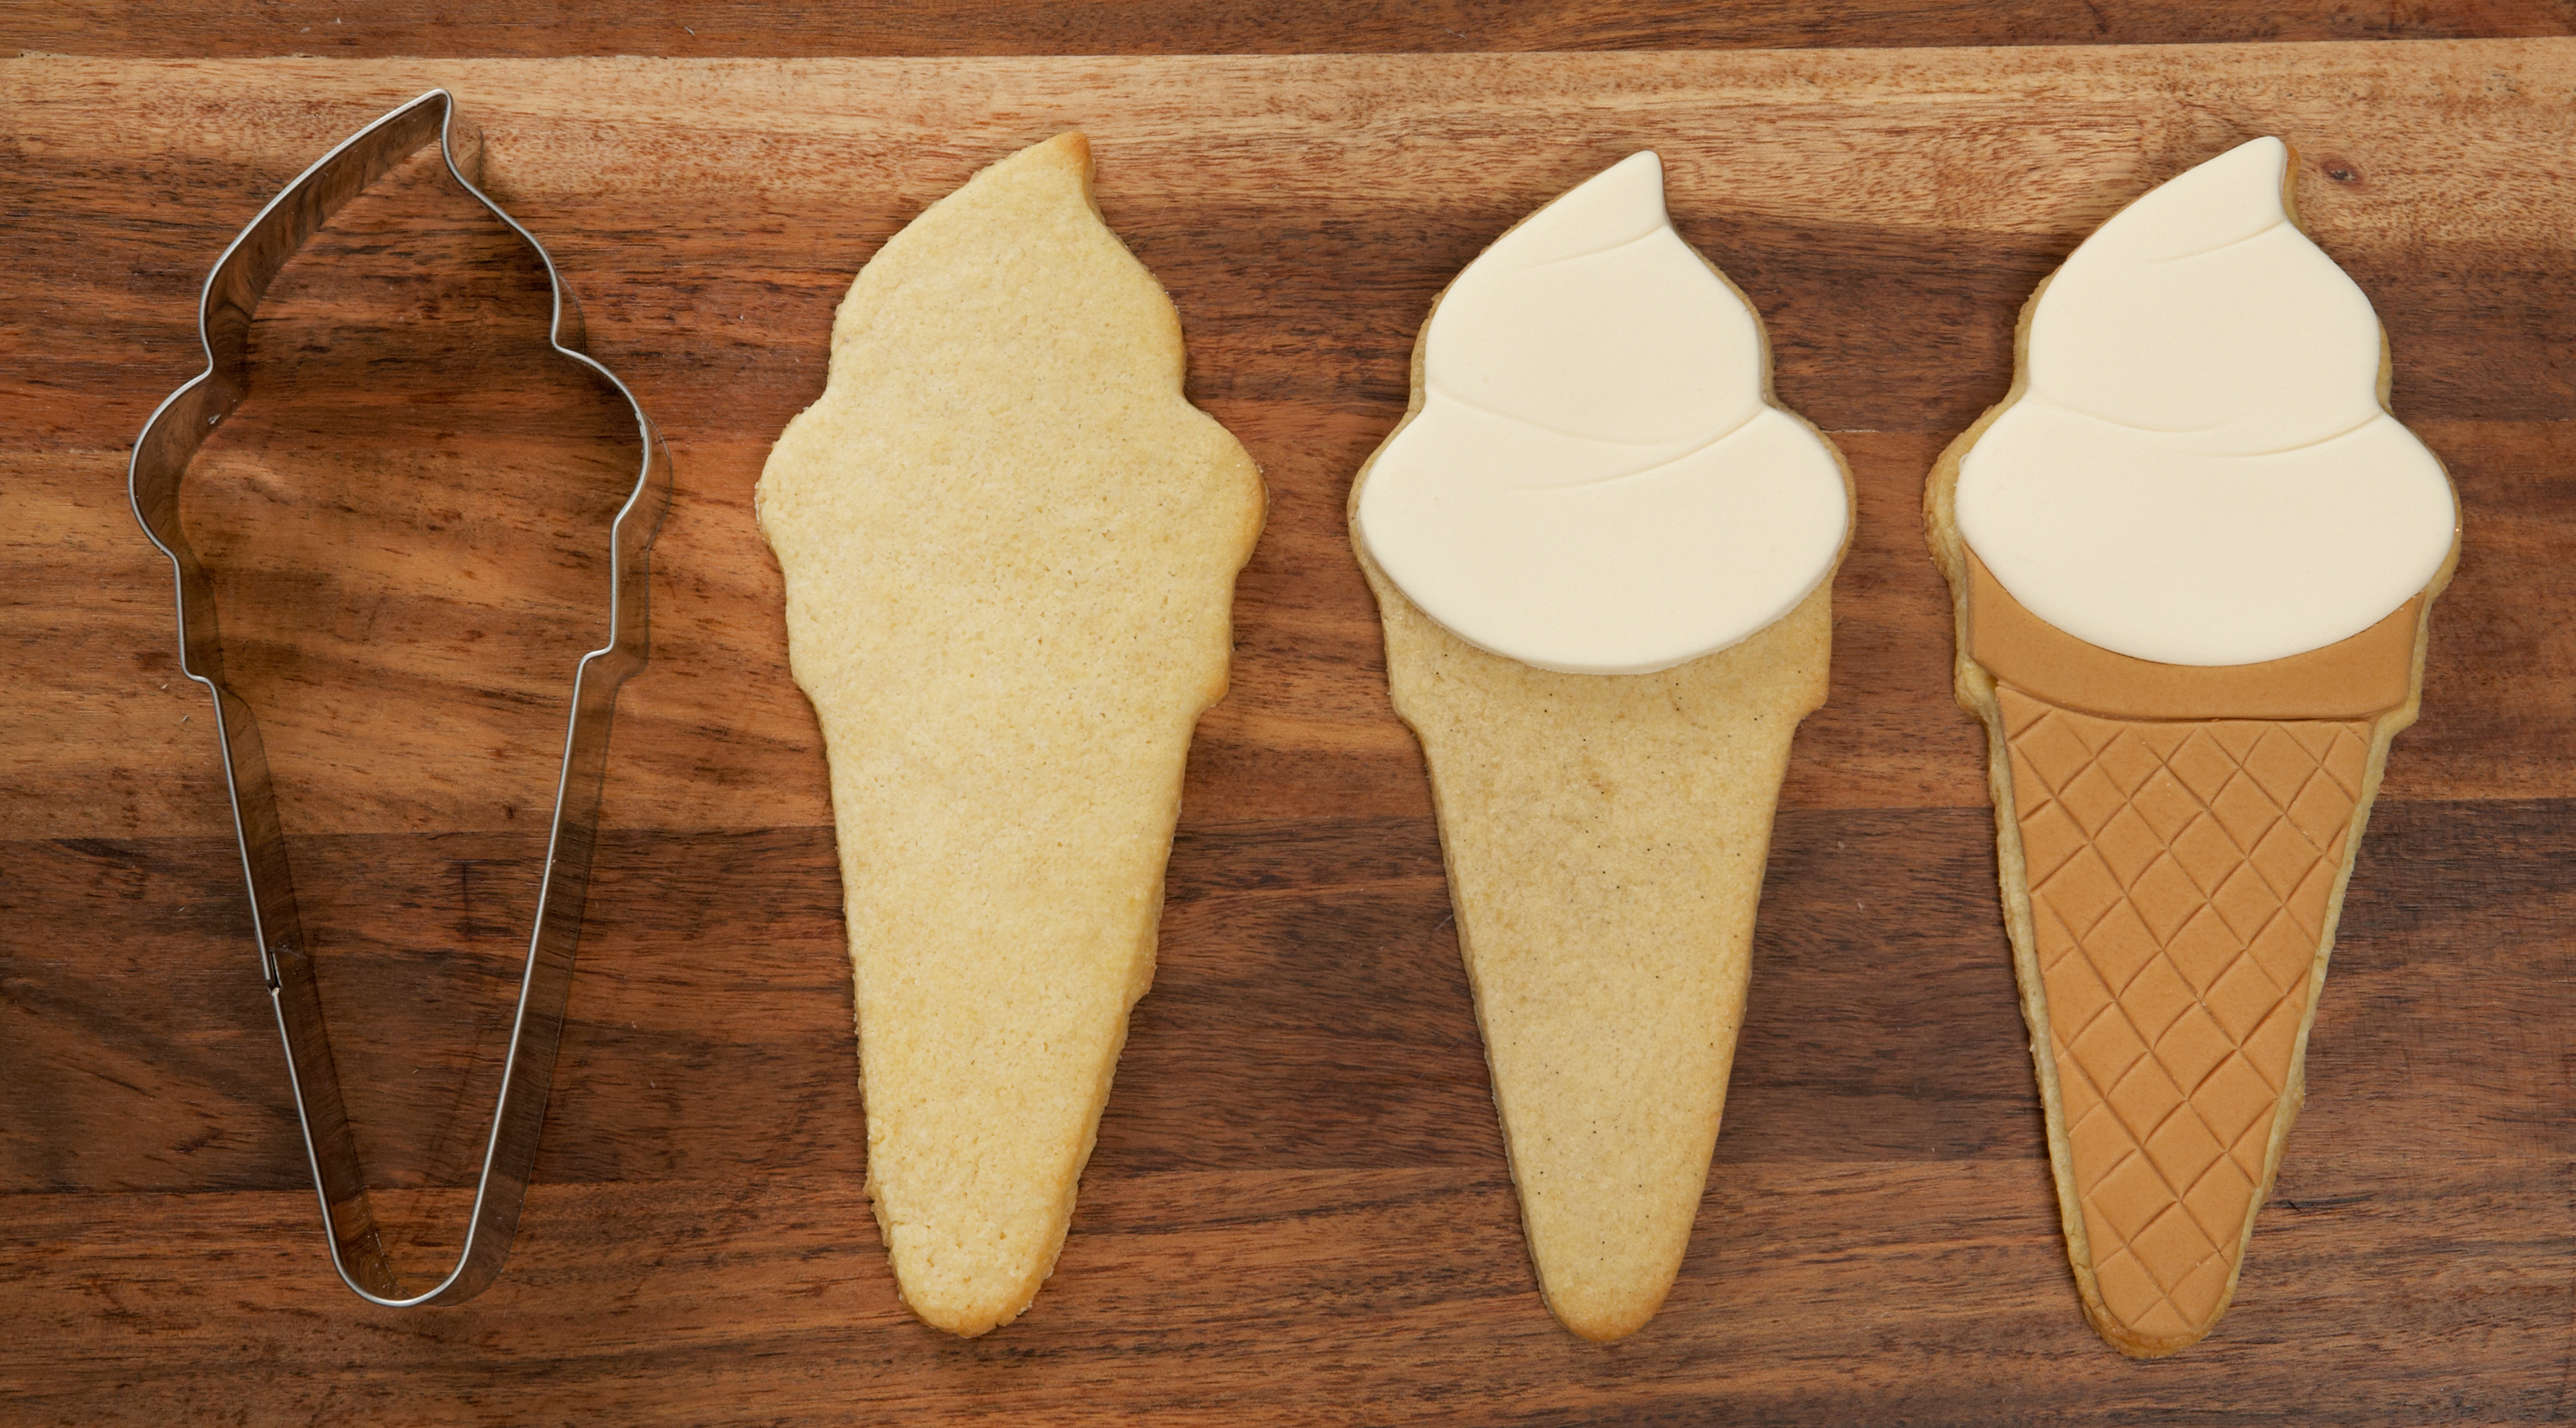
2. Cut the shape of the ice cream cone using the same ice cream cone cutter. Repeat this using White Chocolate sugarpaste also.


3. Take the white chocolate sugarpaste cut out; using a large circle cutter, cut the top half of the ice cream cone off. This should leave a nice ice cream swirl shape.
4. Brush the front of the biscuit with apricot jam and place the matching top swirl of the ice cream cone onto the prepared biscuit. Lightly press down using your smoother.
5. Take the Teddy Bear Brown, cut out the shape and, with the same circle cutter, measure the correct place to cut like the previous colour, so that they match up on the biscuit.
6. Place the base of the ice cream cone onto the prepared biscuit and match up, making sure the join lines are neat and press down with your smoother.
7. Now take your wheel tool and mark a line roughly 8mm under the join line of the two colours on the base colour.

8. Mark the base of the biscuit to resemble wafer cone. Lightly groove diagonal lines on the base, going in both directions with a 5mm gap between each line. (This should give you a crisscross effect.)
9. Using the scribe tool, make small marks in the ice cream swirl section of the biscuit. This makes it look more three-dimensional.
10. This technique can be used to decorate the other shaped biscuits.

Do you love baking and decorating biscuits with your little ones in the summer holidays? Do share your results with us over on Facebook, Twitter or Instagram!
Don’t forget to enter Renshaw’s giveaway - you could win one of four £25 vouchers!*
*Giveaway ends Sunday 26th July 2015.
Blogs you may also like...
- SHARE
-

-

-
 hello
hello
-


_151_86_int_c1.png)


