Blog
Blog
Embossing is a key technique when it comes to making cards and it is a pretty nifty way to add dimension and texture. If you’re new to this, embossing simply requires the use of an embossing folder, which is placed onto a sheet of card and ran through a machine in order to create a gorgeous effect in no time at all! We’re here to guide you through some tips, tricks and the best tools to use when embossing.
Before we get started, you may be wondering what’s the difference between the two types of embossing when it comes to crafting. The technique we will be talking about in this blog is commonly known as ‘dry’ embossing where you use an embossing folder to create a 3-D effect. Heat embossing is another popular technique for cardmakers and this involves using powder and a heat tool to create a raised pattern. You can find a brilliant guide for that right here!
Now, let’s get started on getting to grips with the basics with a little help from our crafting experts…
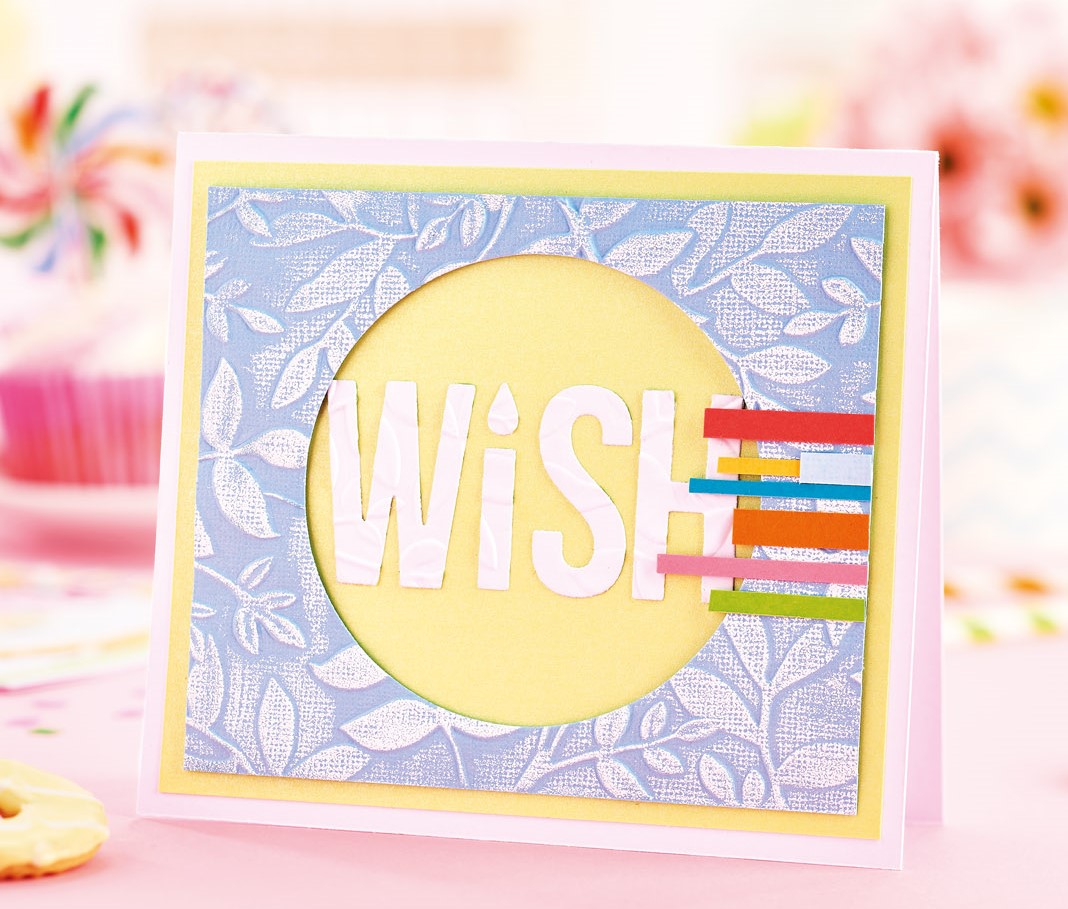
How can I create a consistent textured effect on my papercraft projects?
Tattered Lace’s Stephanie Weightman says… If you’re using embossing folders, make sure you have an even pressure across the piece of work that you’re embossing. This is easier to do in one pass through the die-cutting machine if you’re using a shim or cutting plate in your sandwich. Incase you do have to make several passes through the machine, make sure the embossing folder doesn’t move! You’ll ruin your pattern and have to start again
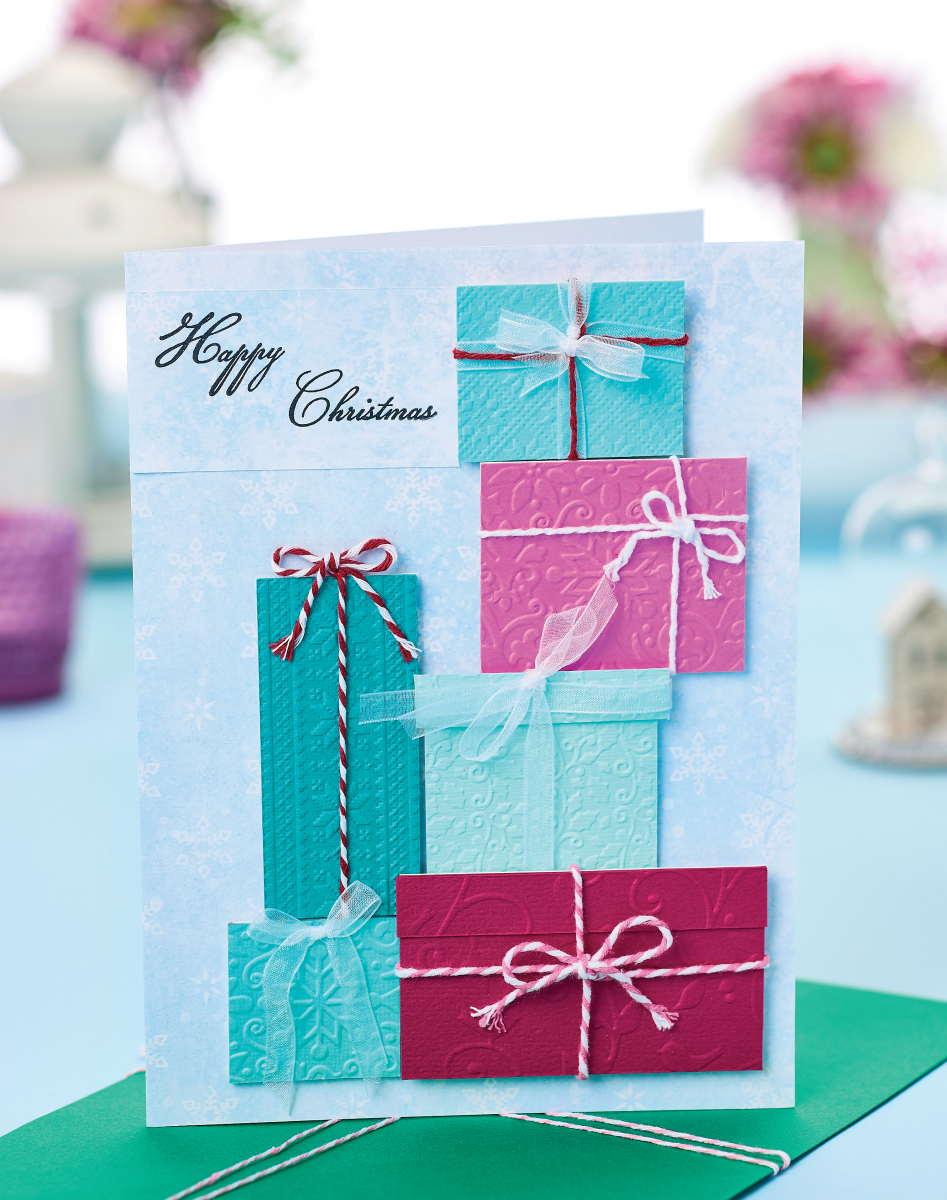
Is there a way to bring festive embossing folders into my card making?
Crafts Beautiful designer, Elizabeth Moad says… Embossing paper or card with a die-cutting machine is so easy to do. This makes it ideal if you need to make a last-minute card in a hurry, or create a large batch. An embossing folder is a plastic sheet with a raised design. Simply place a piece of card inside the folder and run it through your die-cutting machine. The pattern from the embossing folder will be pressed into the card, forcing a pattern to be pushed in. This is sometimes referred to as relief embossing. As embossed patterns are so pretty they can really stand on their own as a feature, and so here I’ve used them to create simple present shapes to form a stylish greeting. The embossed card is backed to strengthen it which makes it easier to wrap baker’s twine around it. Experiment with various colours of card as the embossed designs will show up differently. Shadows and patterns look better on lighter card, so avoid using strong, dark colours.
How can I get creative with embossing folders?
Tattered Lace’s Stephanie Weightman says… Embossing folders have some great creative uses if you think outside the box! Applying ink to the flat areas of your embossing folders can yield different results depending on the kind of folder, but it means you can soak some colour into your cardstock whilst keeping the raised or depressed sections blank. Or why not give debossing a go with your folders to create a whole new aesthetic? Simply emboss into the front of your card rather than the reverse to create a recessed version of the pattern as opposed to a raised indent. From there, you can colour with paint or ink to leave a ‘negative’ of your design! Try filling in the design with an embossing medium and heat-set it for a glossy finish.
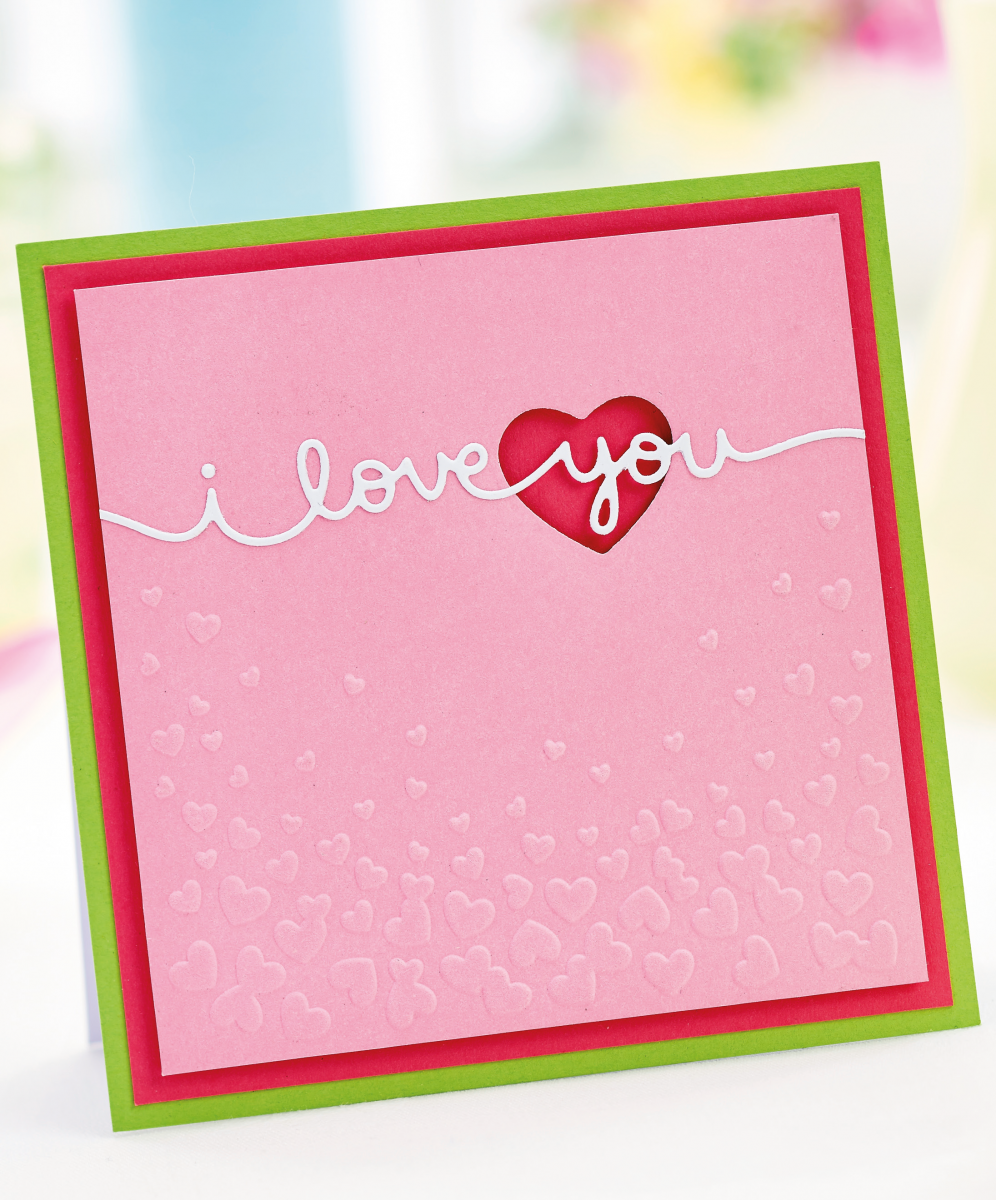
How can I bring embossing into my cardmaking?
Crafts Beautiful designer, Tracey Daykin-Jones says… Embossing is a perfect technique for papercrafting beginners. It’s quick, simple to do and creates a professional finish. This design is great if you fancy trying out several techniques in one. Combine embossing with die-cutting to create a sweet yet simple design. To start, take a square of pink card and die cut a heart aperture from the right. Place the pink panel in a heart embossing folder and run it through your die-cutting machine. Die-cut an ‘I love you’ sentiment from white card and adhere it across the aperture. Mount the panel onto dark pink card with 3D foam pads, then fix to a lime green top-folding blank. There are so many ways you can personalise this design to suit the occasion and your recipient. Create a star aperture for a celebratory greeting, a cake for a birthday, or even a snowflake for Christmas. Experiment with different embossing folders to focus your design on your chosen theme too.
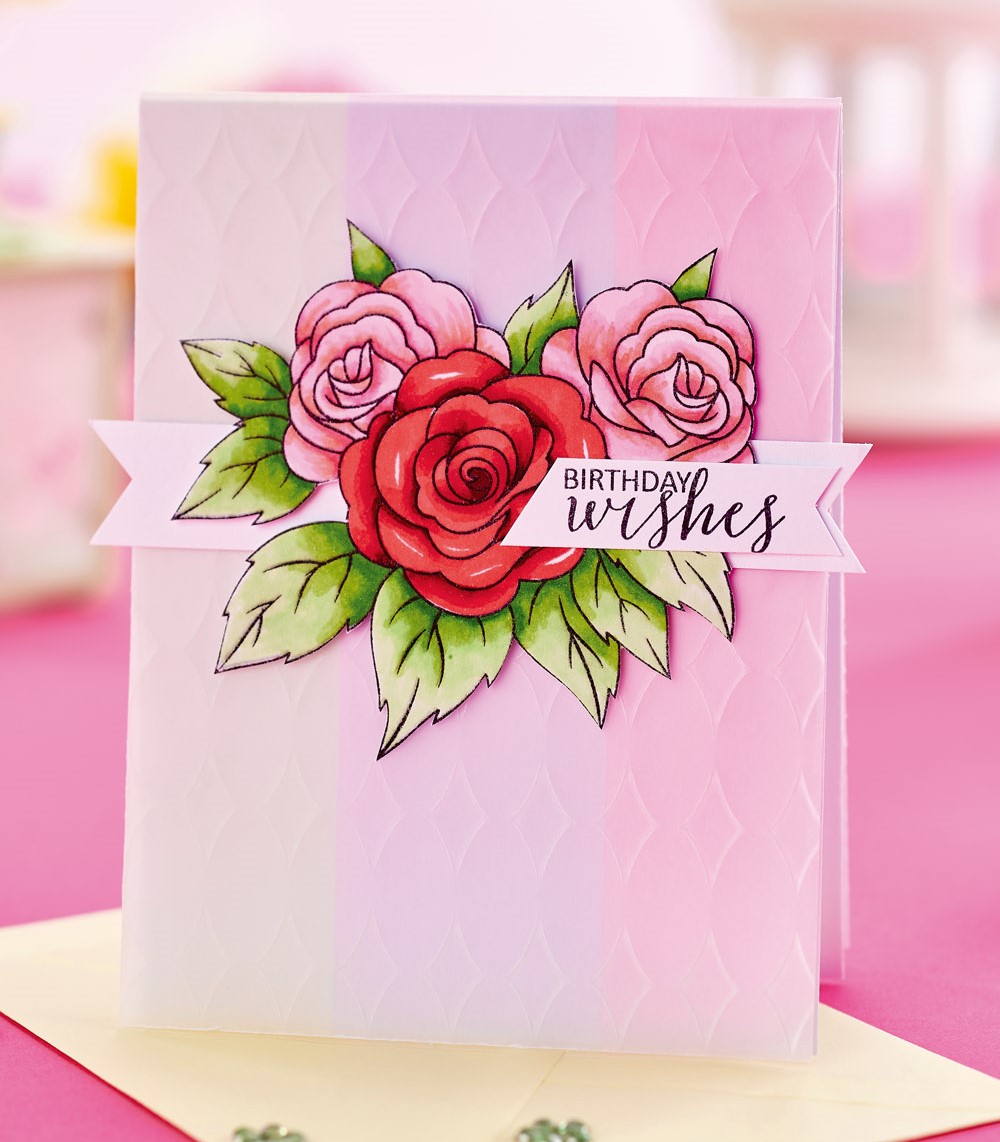
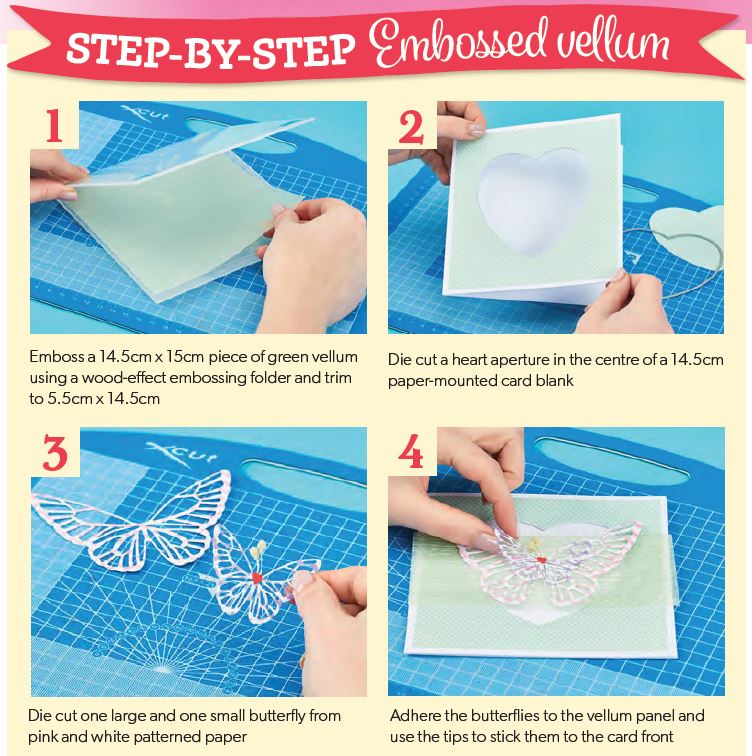
Embossed Vellum With Our Designer Keren Baker!
We all have a collection of vellum in our craft cupboard that we use as a handy accent for cards, but it’s time to make vellum the star of the show. By embossing it you can create truly unique effects for your greetings. Follow these step-by-steps to try it yourself:
Embossing Tools to Get You Started!
Completely new to the world of embossing? Pick up this selection of craft tools and you’ll be off to a great start!
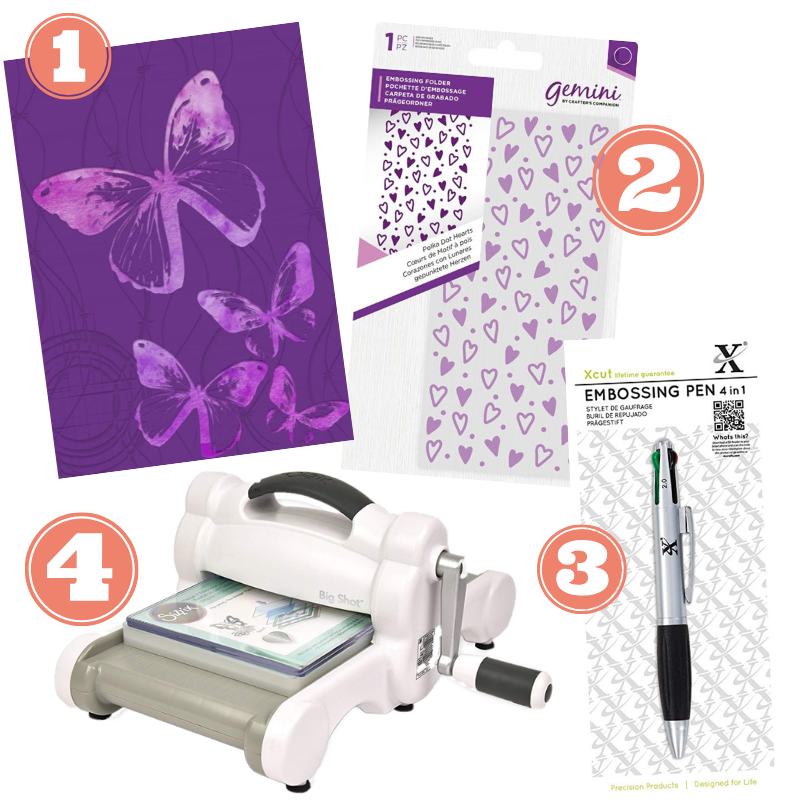
1 Gemini 3D Embossing Folder & Stencil - Fluttering By, £7.99, crafterscompanion.co.uk
2 Gemini Polka Dot Hearts Embossing Folder, £1.99, hunkydorycrafts.co.uk
3 Xcut 4-in-1 Embossing Pen, £4.99, therange.co.uk
4 Sizzix Big Shot Die Cutting Machine, £54, hobbycraft.co.uk
Blogs you may also like...
- SHARE
-

-

-
 hello
hello
-




_151_86_int_c1.png)


