Blog
Blog
We’ve all been there – you want to learn a new craft but have no idea where to start. We’ve put together this guide to help you pick up some tips and tricks to become a master stamper in no time at all! Stamping is often used with cardmaking, so grab a cuppa and take a read of these hints to up your papercraft game. What’s your favourite stamping hack? Share your tips and tricks with us in the comments!
1 Back to Basics
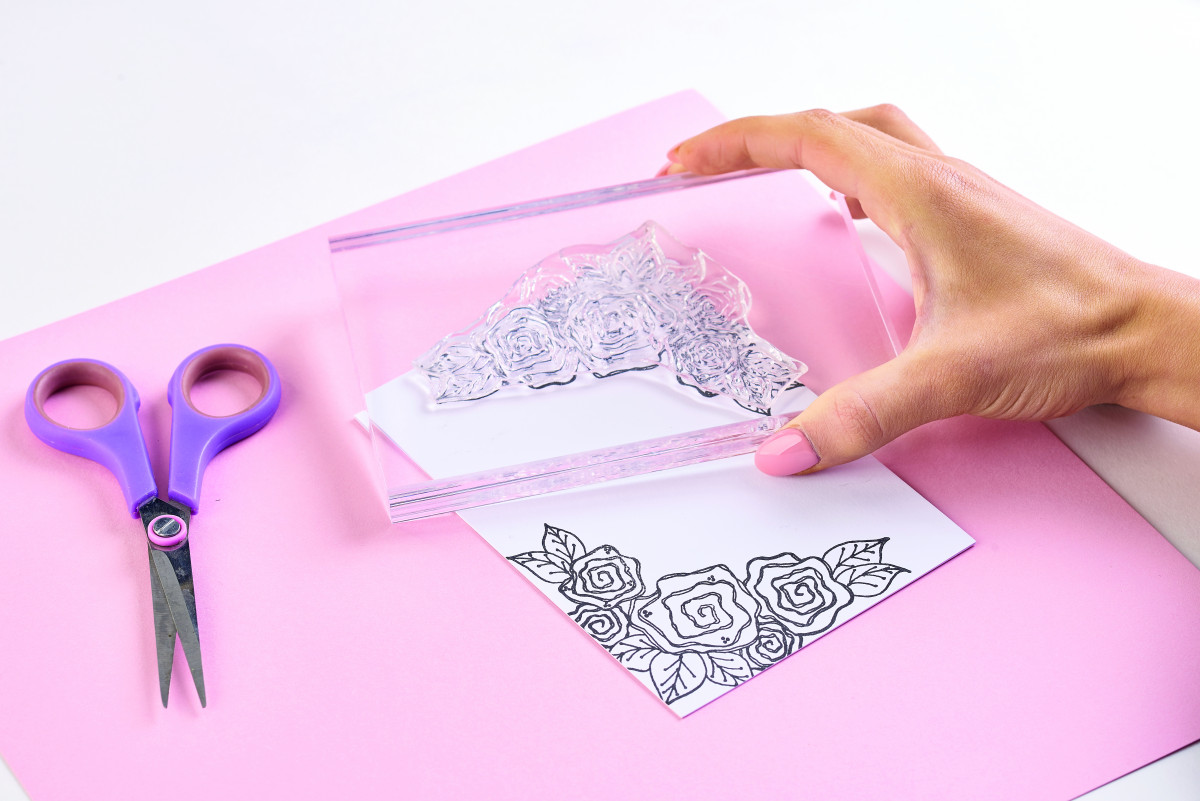
Start off simple and invest in a stamping block. Acrylic stamp sets peel off a plastic backing to use on a block, so this is a worthwhile purchase. You needn’t spend loads on one – this simple clear acrylic block is perfect for larger stamps, with smaller blocks available too.
To use your stamping block, peel your stamp design away from the backing sheet. Press the stamp onto your block, pressing down firmly to ensure it has stuck. If you have problems getting the stamp to adhere, give it a quick wash to remove chemicals from the manufacturing process, and away you go!
For alternatives to stamping blocks, you can use a CD case to get you started. Clear plastic containers also work, but the key thing to remember is that as long as the block is transparent and smooth, anything goes. For an intro to stamping, check out this video from The Crafts Channel to introduce you to the method.
2 Pressure
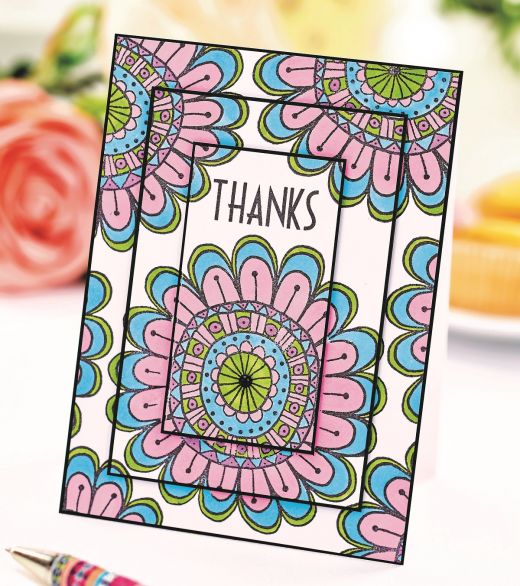
Stampin Up! demonstrator, Sarah Berry, recommends that you try your stamp on a scrap piece of paper before you add it to your project. This is because each ink-pad is different and some may require you practise a few times to master the technique. Once you’ve got the hang of it, have a go at our easy triple stamping project!
3 Making Your Mark
Allow yourself the time to stamp properly. Don’t rush the application of the stamp to your project otherwise you might get uneven coverage. If you’re using a large stamp, keep your other hand or another finger on the stamp whilst pressing down for an even application. Make this card from PaperCrafter!
4 Don’t Let it Dry Out
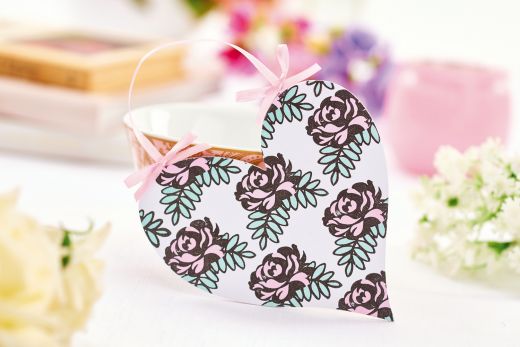
One of the most important rules to remember is to never let your ink-pads dry out – that’s every stamper’s worst nightmare! Make sure you invest in refills when necessary for a clear design each time. Find this project here.
5 Tabletop Crafting
Plenty of space and a flat surface are two things you need for stamping. Give yourself room to move about, and it’s best to stamp during the daytime, so make the most of natural light. Alternatively, purchase a daylight lamp to be able to see clearly.
6 Conditioning
My Favorite Things’ Kim Van Der Sanden suggests that before using new stamps, condition them by stamping with a watermark ink like Versamark, or rubbing with an eraser to remove the film from the manufacturing process.
7 Cleaning
Keep your rubber stamps clean by using a damp non-fibre cloth with water after each use. For hybrid inks, you might need a special stamp cleaner, such as Ultra Clean for this.
8 Sticky Situation
If you find that stamps aren’t sticking to the blocks properly, gently wash the block with a mild detergent, such as washing up liquid, and leave to dry. Keep them out of direct sunlight, and store at room-temperature. Clear stamps are durable, easy to store and maintain – all culminating in years of creative play!
9 Pattern Play
Design your own pattern by adding several stamps to the block at once. This is a great way to save time if you’re creating several copies of the same card and makes the most of your stamp stash by giving you new designs each time.
10 Bold Lines
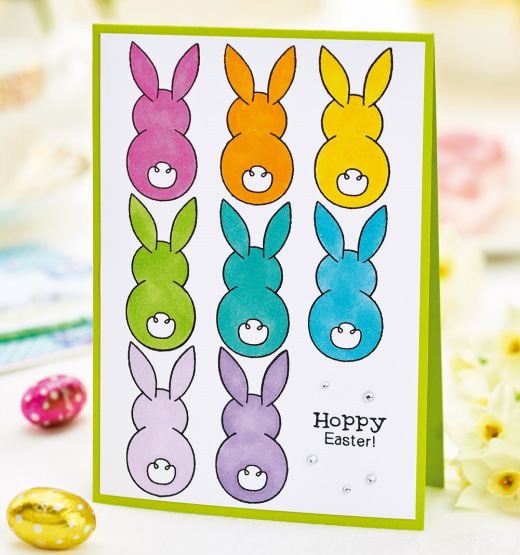
To achieve clear lines, use bright colours that stand out on the page. Designer Colette Smith suggests bringing the ink-pad up to the stamp, patting it several times to ensure even coverage, alternatively, apply the ink in the best way that works for you. Get inspired with this design here.
11 Speedy Stamping
Keep up your momentum by having baby wipes on hand to quickly clean stamps between each transfer. Crafter’s Companion founder and Dragon’s Den star, Sara Davies suggests this particularly for dye-based and pigment inks, but it’s best to use the classic soap and water method for other types of inks.
12 Master Masking Techniques
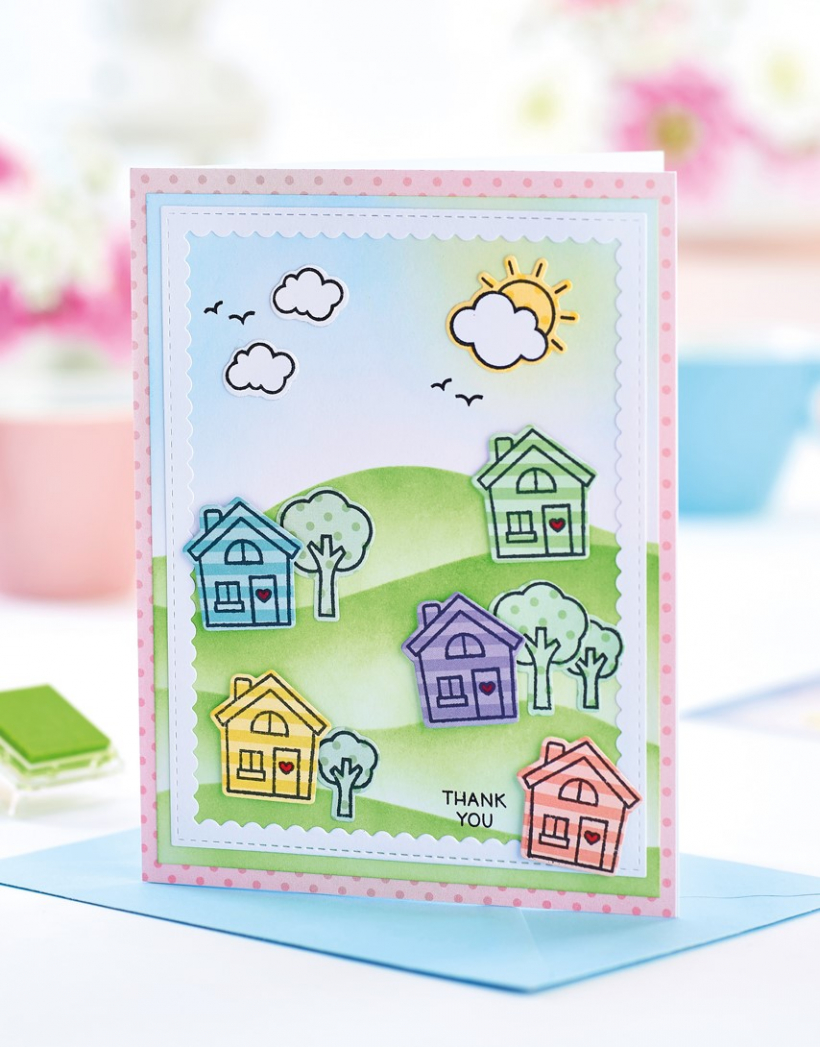
Use an everyday office supply to mask off parts of your stamped design.
- Stamp your design onto your card, and again onto the Post-it Note.
- Trim around the edge of the Post-it Note stamp and use the sticky edge to secure this mask onto the card.
- Stamp the rest of your design onto the card to create backgrounds and detail without ruining the rest of your project.
Alternatively, purchase masking paper, as this option can be used several times before losing stickiness – just be sure that your original stamp is dry if you intend to move the mask around to avoid it transferring. Check out this video for extra tips and find the card instructions here.
13 Layering
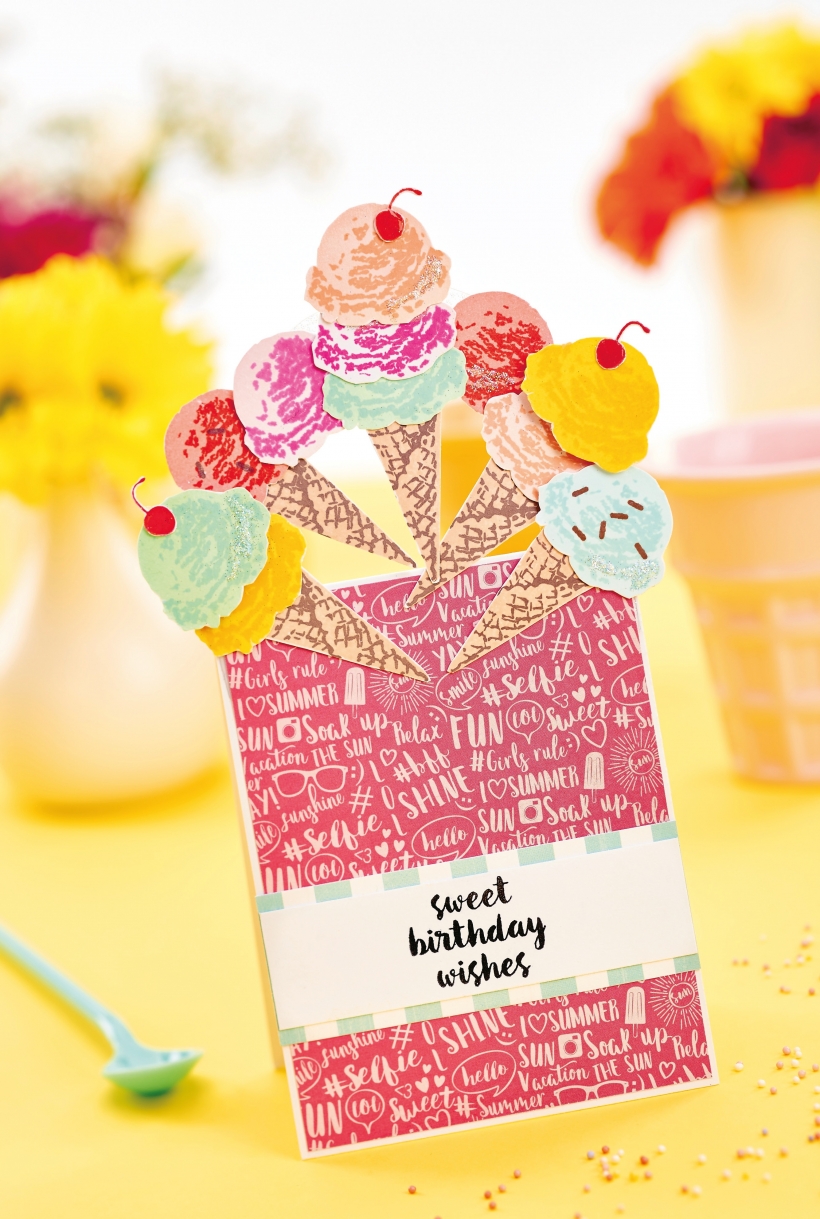
When using multiple stamps to create detailed designs, always make the outline first to use as a guide and build up with the rest of the stamps. The outline acts as a guide for the rest of the elements being added. This card is a great example of how effective layering can be.
To help get perfect results, invest in a stamping platform – this works by taping the card in place, laying the stamp image-side down onto your card (ink free) and closing the tool. The stamp adheres to the platform in your desired position and you can then add the ink. Repeat with the rest of layers for the image.
14 Step Stamping
There is no right or wrong way to step stamping. This is when multiple stamps are made to complete one part of a design, and each stamp uses a different shade of ink. You can start with the lighter or darker area first, depending on the effect you want.
15 A New Dimension
Create impact with the simple swap from glue to foam pads for a three dimensional effect to your cards. This is a great way to layer up different stamp designs to create a unique scene every time. This design uses foam tape in a simple way to add impact.
16 Make the Most of Your Stash
Don’t forget that masking off words and areas of your stamps can help you make new messages and designs for your stamps. Use low tack tape, such as washi tape or masking tape to block off the word you don’t want included – be sure to remove this tape before stamping onto your card to reveal the ink-free word.
1
Blogs you may also like...
- SHARE
-

-

-
 hello
hello
-


_151_86_int_c1.png)


