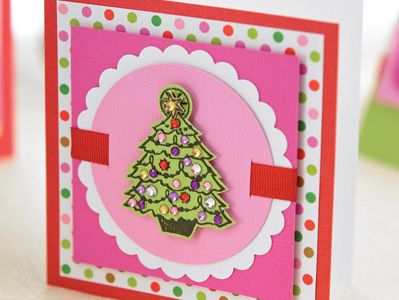
Tracey Daykin-Jones shows you how to make seasonal cards in a matter of minutes
What you need...
- Your October Issue Free Christmas stamp kit!
Papers, patterned, dot, snowflake
Card, light pink, dark pink, white, green
Ribbons, red, pink, green
Twinkling H2Os
Gemstones, multicoloured
Ink-pads, brown, black, pine cone; VersaMark
Embossing powders, clear, white diamond
Punch, large, scallop-edged
Adhesives: tape, doublesided; foam pads, 3-D
instructions
-
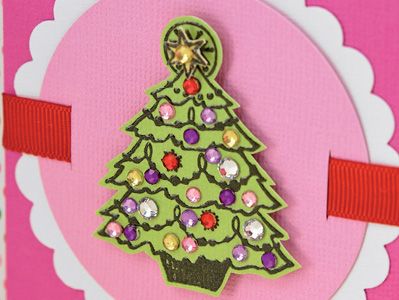
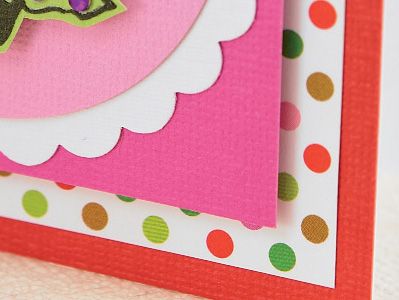
Christmas Tree - 1. Create a blank, 10cm square, and cover with red card. Add a second smaller square of dot patterned paper and put to one side. Stamp the Christmas tree onto light green card using black ink and clear emboss. Cut out the image and stick coloured gemstones to the dots.
2. Trim a circle from light pink card and make a 1cm slit on opposing sides. Punch a large scallopedged circle from white card and trim a square, slightly larger from dark pink. Matt together and thread red grosgrain ribbon through the circle. Secure the ends behind the square using doublesided tape.
3. Fix this completed section to the card centre. Stamp the tree onto yellow using black ink and clear emboss. Trim out the star from the top and adhere to the tree on the card using a tiny 3-D foam pad. To complete, stick a yellow gemstone in place, as shown.


