Blog
Blog
Hi! I’m Corinne, Crafts Beautiful’s in-house designer. I came late to the Duck Tape party. Don’t get me wrong – I use it all the time around the home, in the garden and when I go camping. I’ve even fixed the car with it! Duck Tape is possibly the most versatile tape around, but I’d never really ‘crafted’ with it. I’m a bit fussy when it comes to crafting. I’ve been known to go over a card with a pin to remove any visible traces of glue and if something isn’t 100% parallel I’ll trim, trim and trim again until it is. The thought of ripping a piece of tape and leaving a ragged edge is, if I’m completely honest, a bit alien to me.
The main sticking point (excuse the pun) for me is that Duck Tape is just so sticky. I struggle to cut it with scissors and a craft knife is out of the question. I’ve tried backing it with waxed paper, parchment paper, acetate, anything I could lay my hands on really. It would cut beautifully, however I’d spend ages trying to peel the backing away. I knew that if I wanted to start die-cutting with this material to make stickers, I’d need to get my thinking cap on.
In the end, I tried the marvellous dryer sheet method for preventing intricate die-cuts getting stuck in the die. Well, I say marvellous… I had a bit of trouble at first. An afternoon of frustration left me with thousands of paper pieces and very slippery hands and cutting plates. So slippery that a light bulb went off in my head (or perhaps just a blood vessel).
As a result, here’s my virtually foolproof method for die-cutting Duck Tape and producing brilliant stickers to decorate almost anything with!
1

Buy some dryer sheets. They need to feel a bit damp but not so wet that all the fabric conditioner squeezes out of them when you run it through a die-cutting machine. If in doubt, leave one out of the packet for about half an hour. Next, cut a 5cm wide strip of dryer sheet and lightly stick a length of Duck Tape to it.
2

Place a thin die on the layers and run it through a die-cutting machine. Remember to check if there are words on the dies as you’ll need to cut it the right way round. You can’t flip a piece of Duck Tape over if you’ve got it wrong.
3

Remove the die-cut from the rest of the layers. You will find the dryer sheet either stays attached to the background with a few fibres or just slides off the back of the Duck Tape because it is so slippery. You’ll also find that the adhesive on the Duck Tape appears to have disappeared, but don’t panic.
4

Get a shallow bowl of tap water and put your die-cut into it. Rub the back of the sticker with your fingertips to remove any traces of fabric conditioner.
5

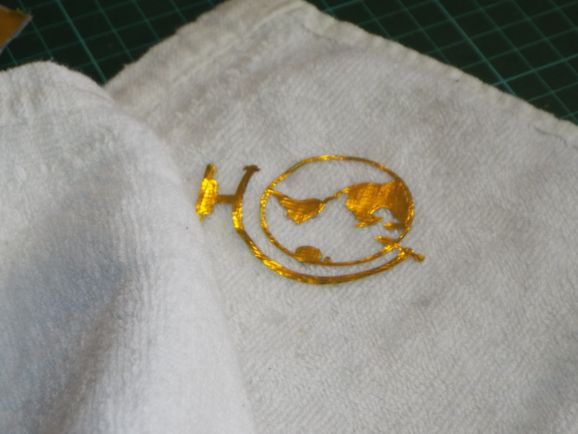
Take a clean, dry cotton towel (don’t be tempted to use kitchen towel from a roll, it’ll end in tears) and lay the wet sticker onto it, then pat it dry. Peel it off and move to a drier part of the towel and repeat.
6

Peel it off the towel and you’ll see that the adhesive has miraculously come back to life and is as sticky as it ever was.
7

You can now use your beautiful Duck Tape sticker to decorate all manner of things. And the best thing is that the adhesive stays put until you want to peel it off and redecorate! Here I’ve decorated a journal, a tin and a couple of bracelets.
Discover more of my work here.
Blogs you may also like...
- SHARE
-

-

-
 hello
hello
-


_151_86_int_c1.png)


